Software development is a process that entails various stages that birth a successful product. From ideation, to design, then development, testing, and production. During this magical process, developers integrate third-party libraries known as Software development kits (SDKs) to help the application meet its intended goal. Since these third-party libraries are created and updated frequently by other developers, consumers must be alert for upgrades and adapt to them.
Maintaining updates may be demanding for developers because they have to reinstall several packages and libraries and even replace ones that become deprecated. Different solutions have been developed by some businesses to address this issue.
In this article, we will discuss how developers can use Renovate to manage dependencies. To follow through with this article, you will need a basic knowledge of libraries, modules, and version control.
What are Dependencies?
Dependencies are a collection of tools, typically modular fragments of code that other applications rely on to carry out specific tasks. Dependencies are mostly supported in object-oriented programming (OOP), where classes extend functionalities to other applications.
Dependencies in JavaScript are referred to as libraries or packages, and they are distributed to consumers using package managers like NPM and Yarn. These package managers provide CLI(Command Line Interface) for managing dependencies in your development environment. For instance, NPM installs packages using the following command:
npm install PACKAGE_NAME
While Yarn uses install to install all the dependencies in a Yarn project.
yarn install
And uses add to install a single dependency in a Yarn project.
yarn add PACKAGE_NAME
After a package has been installed using the CLI, the package name and version are added to the list of dependencies in the "package.json" file in the application folder.
The "dependencies" object in the "package.json" file contains the list of dependencies, where the package names are the keys, and the versions of each package are the values. Here is an example of a list of dependencies:
 "dependencies": {
     "@testing-library/jest-dom": "^5.16.4",
     "@testing-library/react": "^13.3.0",
     "@testing-library/user-event": "^13.5.0",
     "react": "^18.2.0",
     "react-dom": "^18.2.0",
     "react-scripts": "5.0.1",
     "web-vitals": "^2.1.4"
 }
What is Renovate?
Renovate is an open-source software approved by GitHub and other version control solutions to detect changes to dependencies and automatically create PRs(Pull Requests) to resolve these changes. Renovate can be used on various platforms, like GitHub, GitLab, Azure DevOps, Bitbucket Cloud, Bitbucket Server and Gitea.
Customers including Prisma, Mozilla, Yarn, Netlify, Envoy, Telus, Red Hat, Uber, Cypress, eBay, Algolia, Hashcorp, Atlassian, Microsoft, Sourcegraph, and Buildkite also use Renovate.
Let's now look at how Renovate can be set up in your workflow to automate dependencies management.
Configuring Renovate in Your Workflow
Renovate can be installed on the version control system of your choosing. In this article, for example, we will use GitHub.
On the GitHub Marketplace, search for the Renovate app and click install. Select the organization or account where you wish to install Renovate. Next, choose whether to install Renovate across all of your repositories or just one particular one. We will only select one repository in this article.

Proceed to install Renovate and complete the necessary authentication.
You can sign in using GitHub or GitLab, then you will be redirected to the Renovate Dashboard. Complete the following forms, then submit your registration. If everything goes correctly, you'll be able to access the Renovate Dashboard.
Navigate to the project where Renovate was installed. You should see a screen like this:

Renovate hasn't found any dependency modifications yet, hence the result is "null."
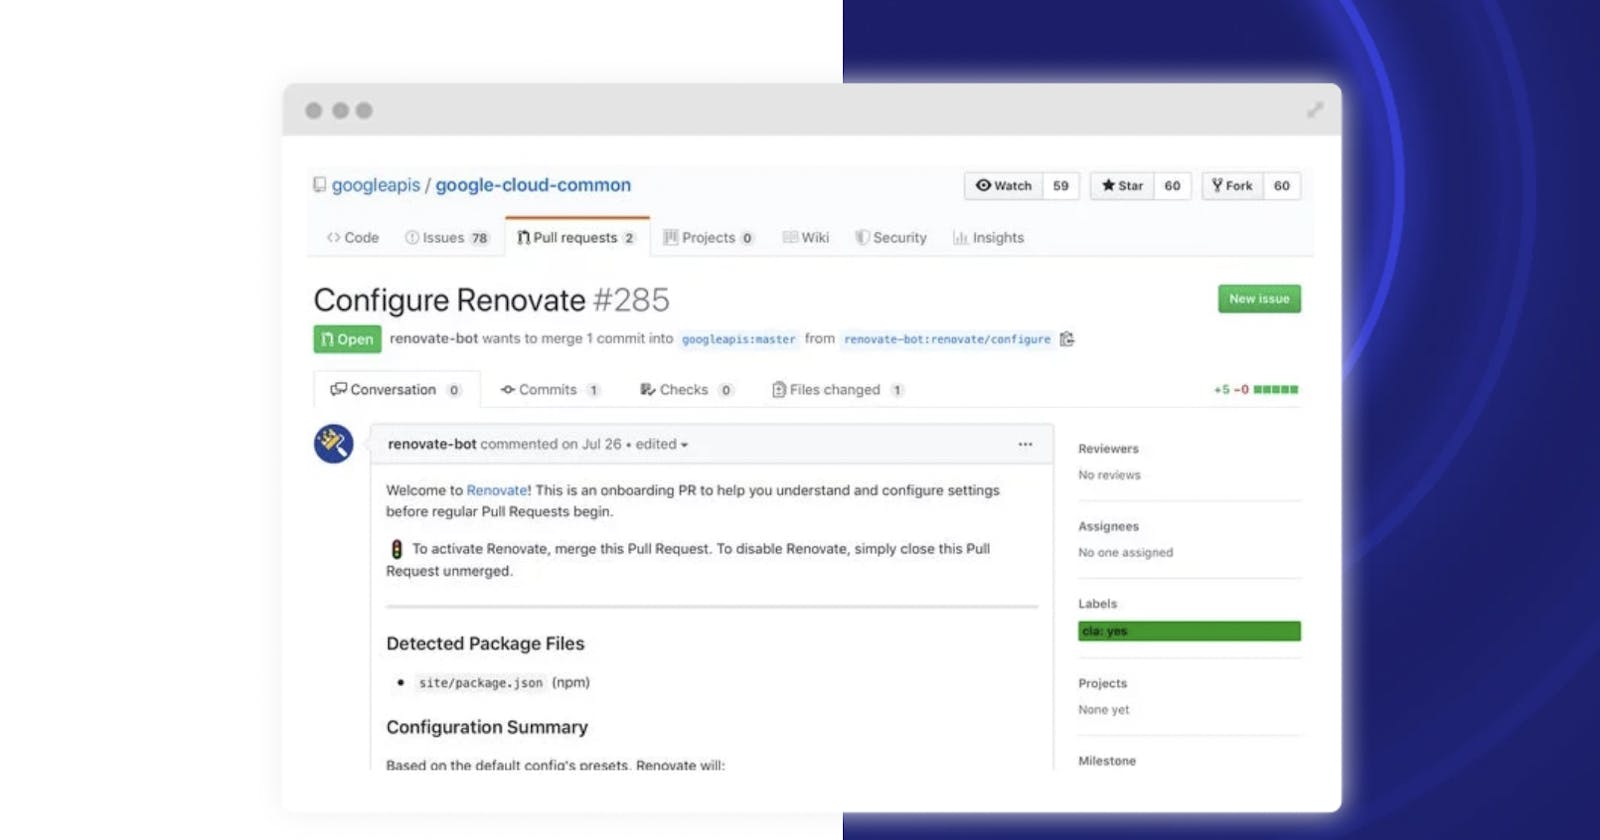
When you visit the GitHub repository for the project where Renovate was installed, you will see a new PR titled "Configure Renovate."

From this PR, you may learn everything you need to know about Renovate in your workflow. The PR also contains a list of detected packages, a list of what to expect(dependencies that need update) and a commit that adds the “renovate.json” file to your project.
Settings for customising Renovate in your project are defined in the "renovate.json" file. However, merge the PR to add the file in the repo.
After merging the onboarding PR, you may determine how frequently Renovate creates PRs of updates by changing the value of the variable "prhourlylimit".
{
  "$schema": "https://docs.renovatebot.com/renovate-schema.json",
  "extends": [
    "config:base"
  ],
  "prhourlylimit": 3,
}
Having set all the necessary configurations, commit the changes. Renovate will create PRs for the dependencies that need updates after a few minutes.

The update PRs target a single dependency and sets the version in the “package.json” file to the latest version available for that dependency. In this case, the previous version of “@testing-library/jest-dom” was version “^5.16.2”, Renovate updated the version to “5.16.5”. Ensure to check the change logs of the dependencies to learn of any breaking changes, before merging the PR.
Congratulations!🥳 You have successfully configured Renovate in your workflow.
Conclusion
Dependency management can be painstaking sometimes, as developers might need to refactor their implementation due to breaking changes in the dependencies. But the major issue is knowing when these updates are available. Thanks to Renovate, your application wouldn’t have to break before you notice a change in dependencies.
Check out the official documentation to learn more about how to use Renovate to manage dependencies automatically.

